Creating Events
When you create an event, you are automatically attached to that event. You can create an event for a member or prospect regardless of the assigned associations; the member does not have to be associated with the event, level, or trainer. If the event allows overbooking, you can add more clients than the max number of attendees for that event.
To create an event:

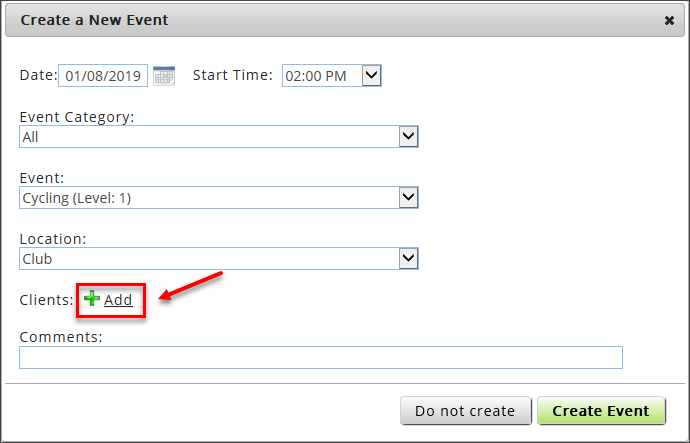
- In the Create a New Event dialog box, select the Date.
- Select the Start Time.
- Select the Event Category.
- Select the Event.
- Select the Location, if applicable. If a location is not required to create the event, you may leave this field blank.
- Click Add to select a member, if applicable. If a member is not required to create the event, you may leave this field blank and skip to Step 9.

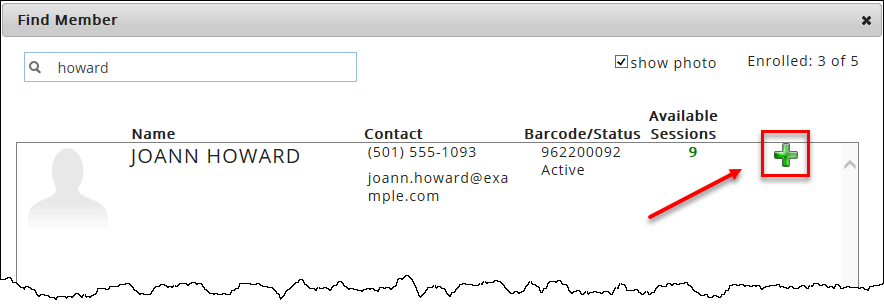
- In the Find Member dialog box, type the member's first or last name in the search box and press Enter.
- Click the Add button
 next to the desired member.

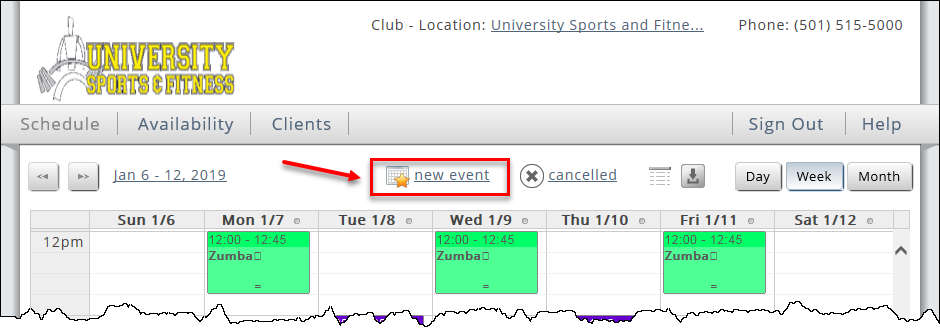
 new event.